This post contains affiliate links. Read my disclosure policy here.
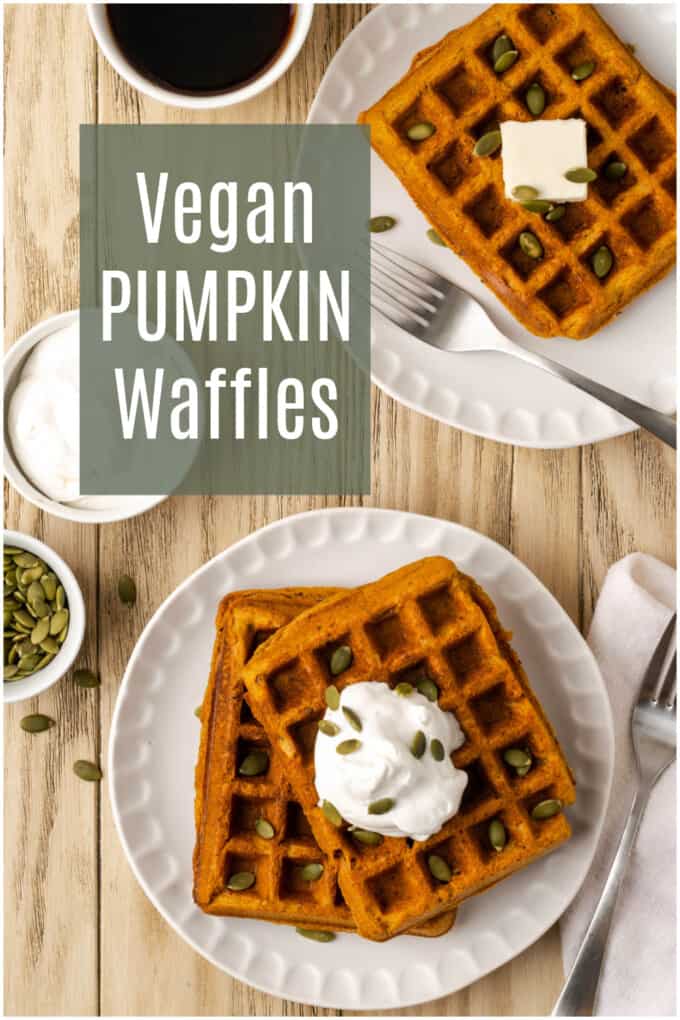
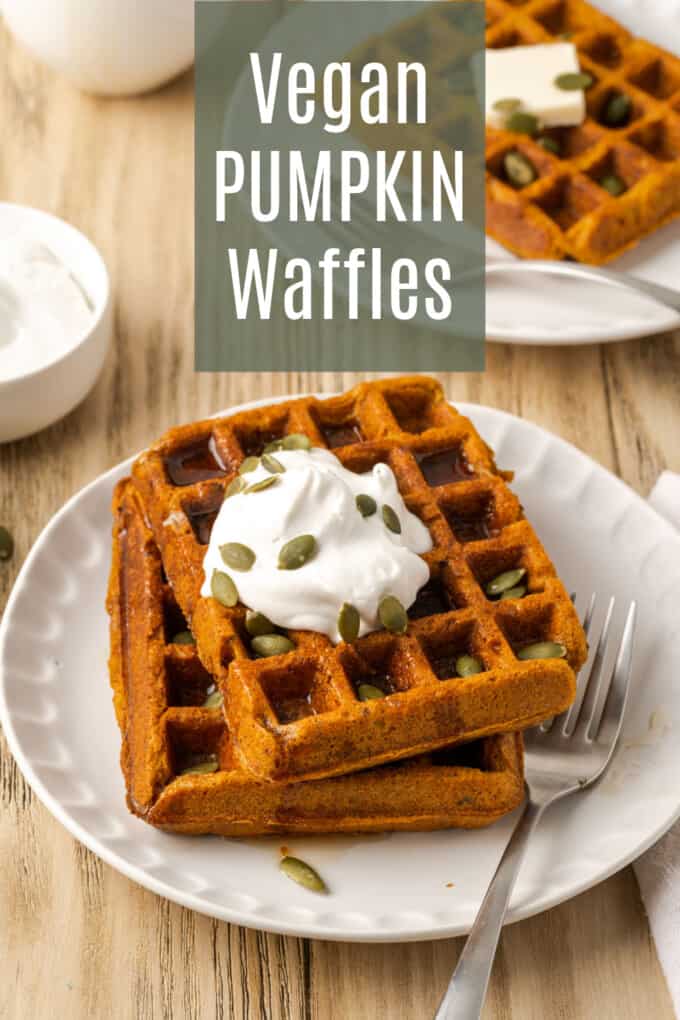
These Vegan Pumpkin Waffles are the epitome of comfort with their warm spices and rich pumpkin flavor, making them an ideal breakfast choice for fall. They are easy to whip up and can be made ahead for busy mornings.
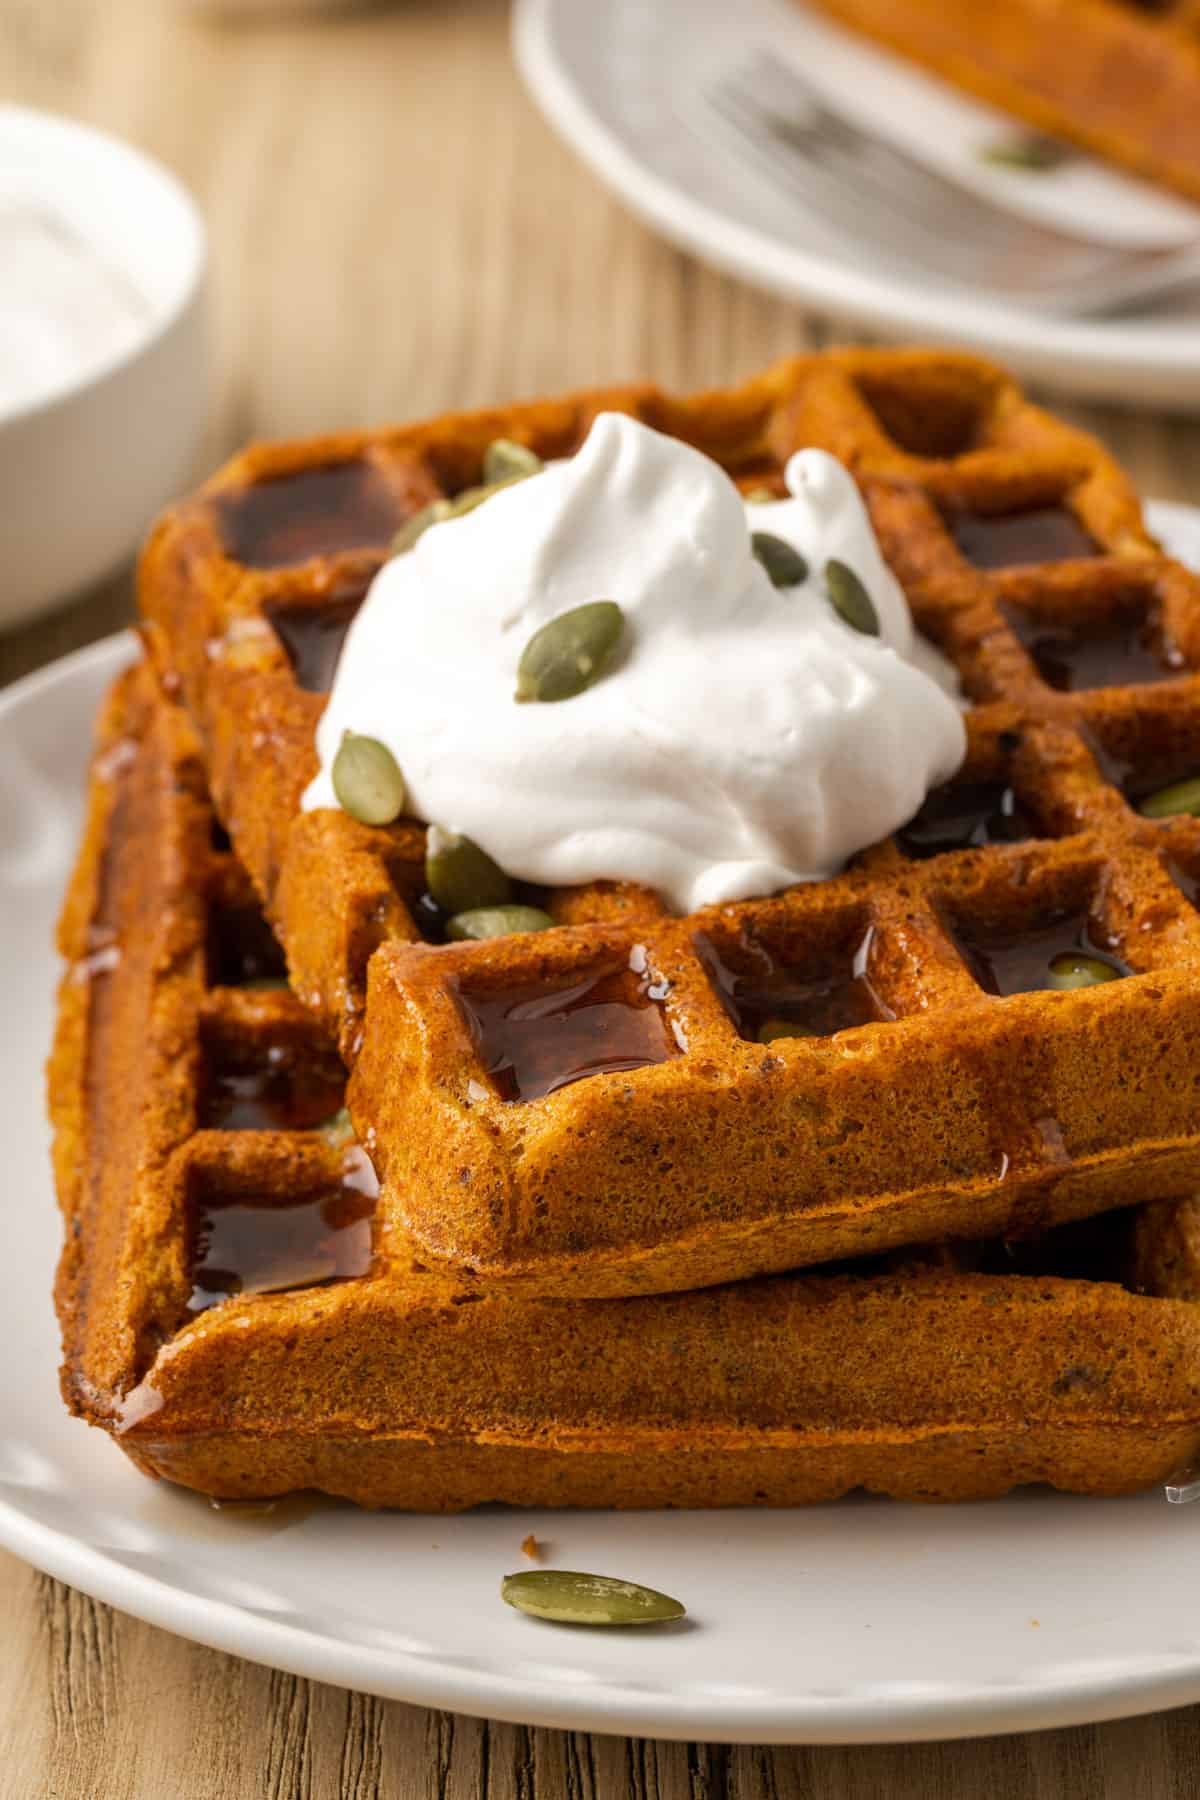
If you're ready to embrace the fall season, these Vegan Pumpkin Waffles are the perfect way to start and will make your mornings extra special. They are easy to make, customizable, and bursting with the flavors of autumn.
They are a great addition to your fall morning menu, along with my vegan pumpkin pancakes, this hearty pumpkin spice oatmeal, or this vegan pumpkin spice latte. You're all set with this lineup!
So, don't wait any longer—grab your ingredients, fire up the waffle iron, and savor delicious pumpkin waffles this fall!
Ingredients needed (with substitutions)
This recipe calls for simple ingredients and easy substitutions. Here's what you'll need:
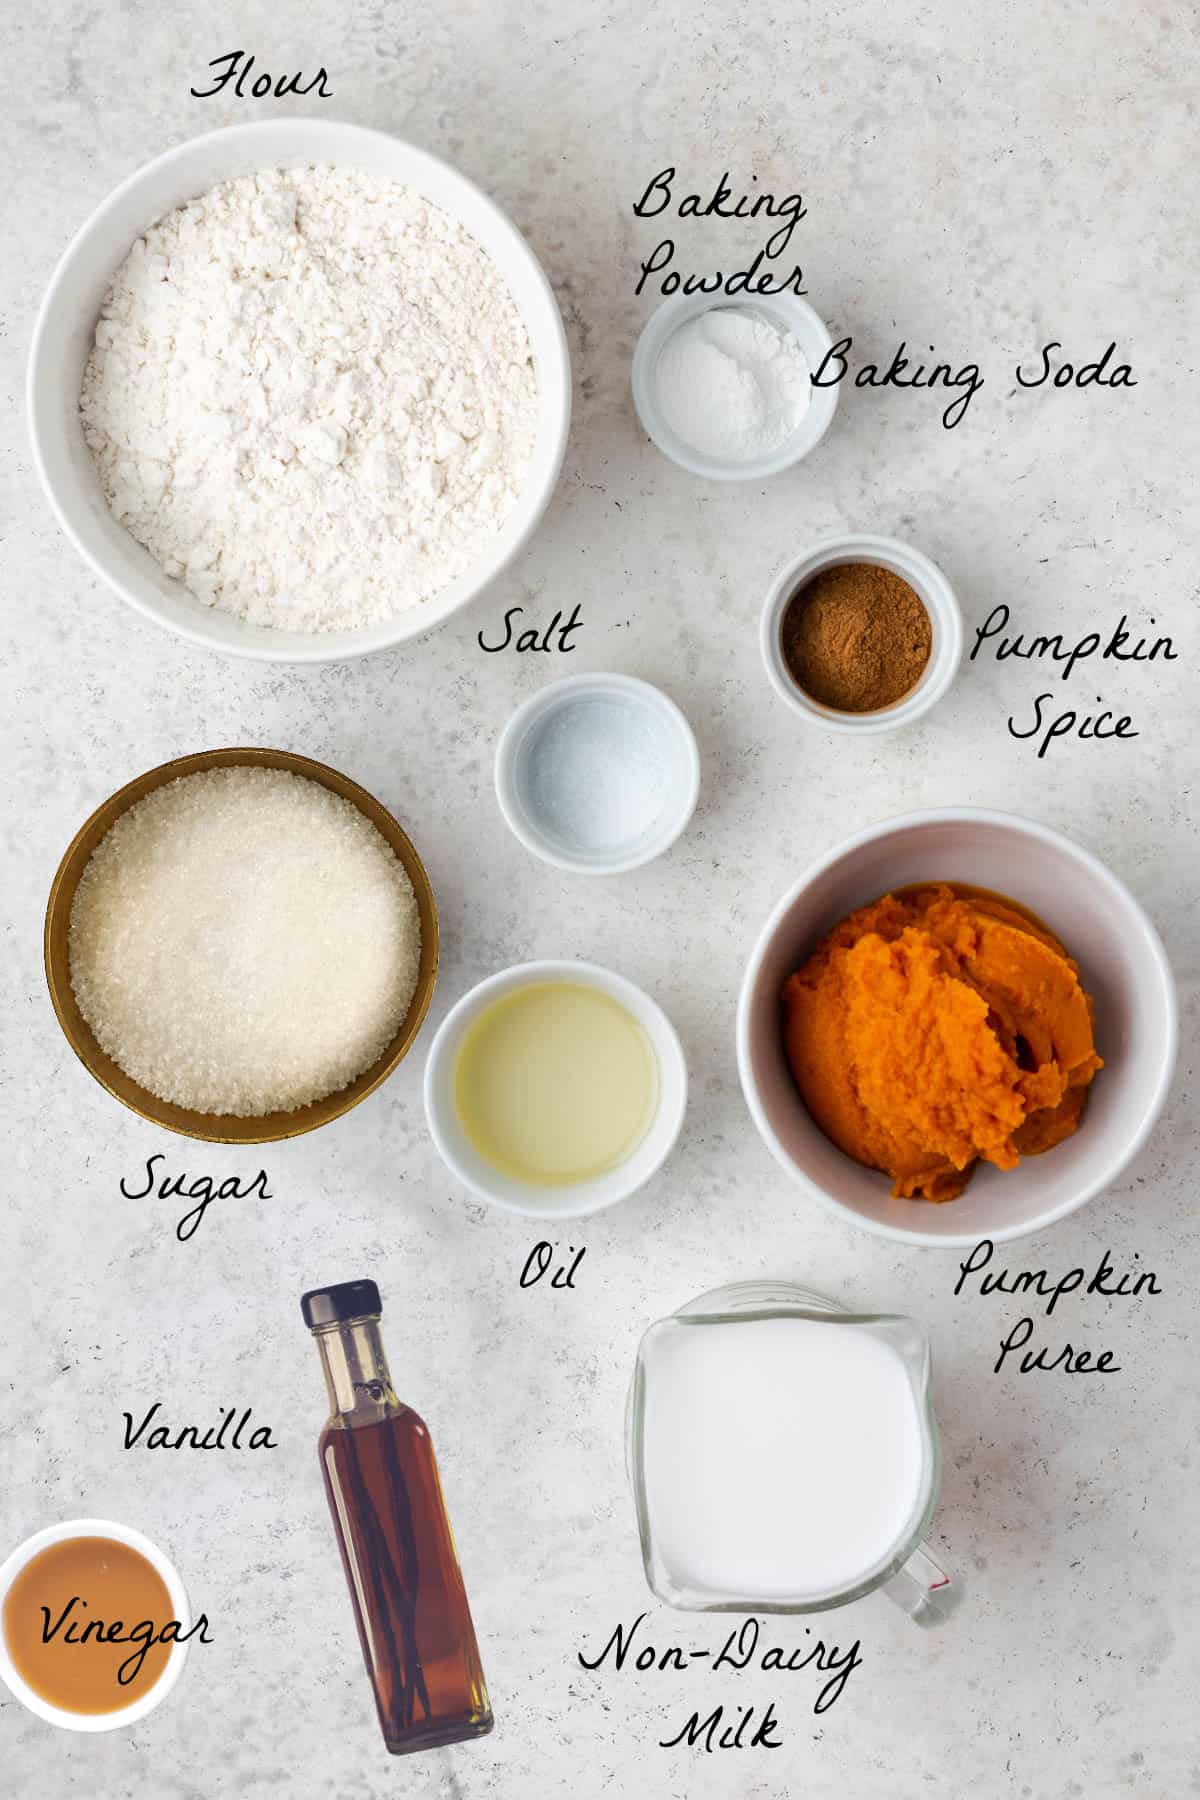
- Pumpkin Puree - It's the star ingredient, but If you're not a fan of pumpkin or don't have it on hand, you can also use sweet potato puree as an alternative.
- Non-Dairy Milk - I prefer soy milk because it's thick and creamy and yields a nice buttermilk when an acid is added, but you can use any non-dairy milk.
- Apple Cider Vinegar - This curdles and slightly thickens the non-dairy milk, giving us a vegan buttermilk substitute. If you don't have it, fresh lemon juice works just as well.
- Neutral-Flavored Oil - My go-to choice is avocado oil, but you can use any neutral oil you prefer, such as canola, sunflower, grapeseed oil, or light-tasting olive oil.
- Cane Sugar - Brown sugar or coconut sugar will work here too. Just note the waffles will taste less sweet.
- Pure Vanilla Extract - This elevates the flavor but it's completely optional.
- All-Purpose Flour - I believe a 1:1 all-purpose gluten-free flour could be a suitable substitute. Be prepared for some minor adjustments if necessary.
- Baking Powder + Baking Soda - Together they help achieve that desirable golden crust on the waffles while keeping the interior light and airy.
- Pumpkin Spice - If you don't have it, you can use 2 teaspoons of cinnamon, ¼ teaspoon of ground nutmeg, ¼ teaspoon of ground cloves, and ½ teaspoon of ground ginger.
How to make pumpkin waffles
Once you whip up the batter, you're ready to go. Here's how to make them:
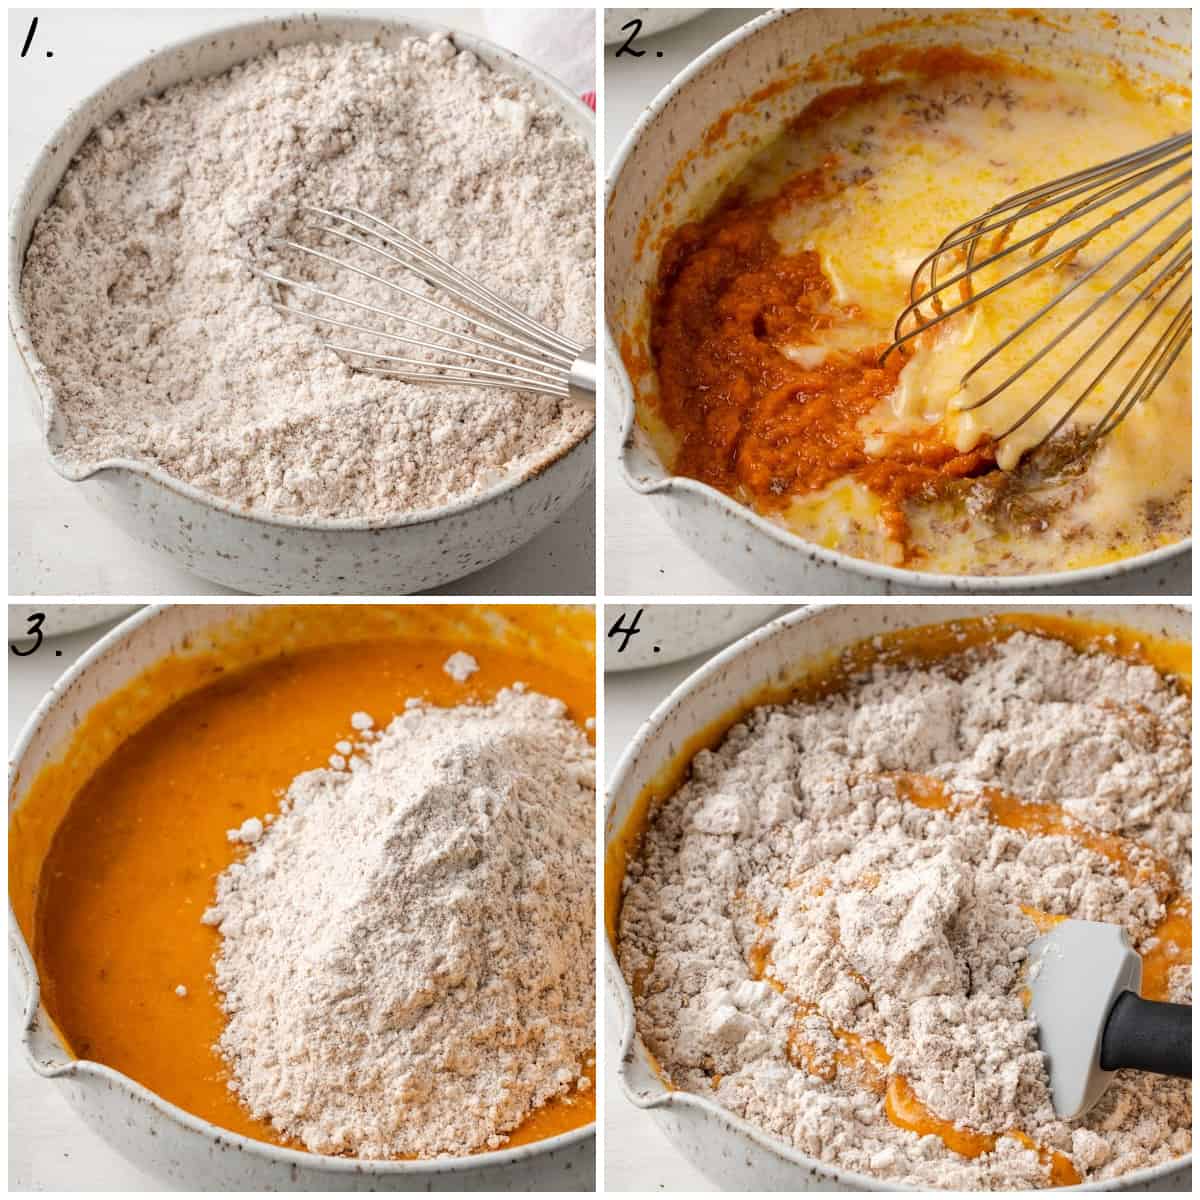
- In a large bowl, whisk the apple cider vinegar and milk until combined. Set aside for 5 minutes. In a medium bowl, whisk the flour, pumpkin pie spice, baking powder, baking soda, salt, and, sugar in a small bowl until combined.
- To the large bowl with the buttermilk, add the pumpkin puree, oil, and vanilla then whisk well until combined.
- Add half of the dry ingredients and fold together with a spatula.
- Now add the remaining dry ingredients and fold until just combined.
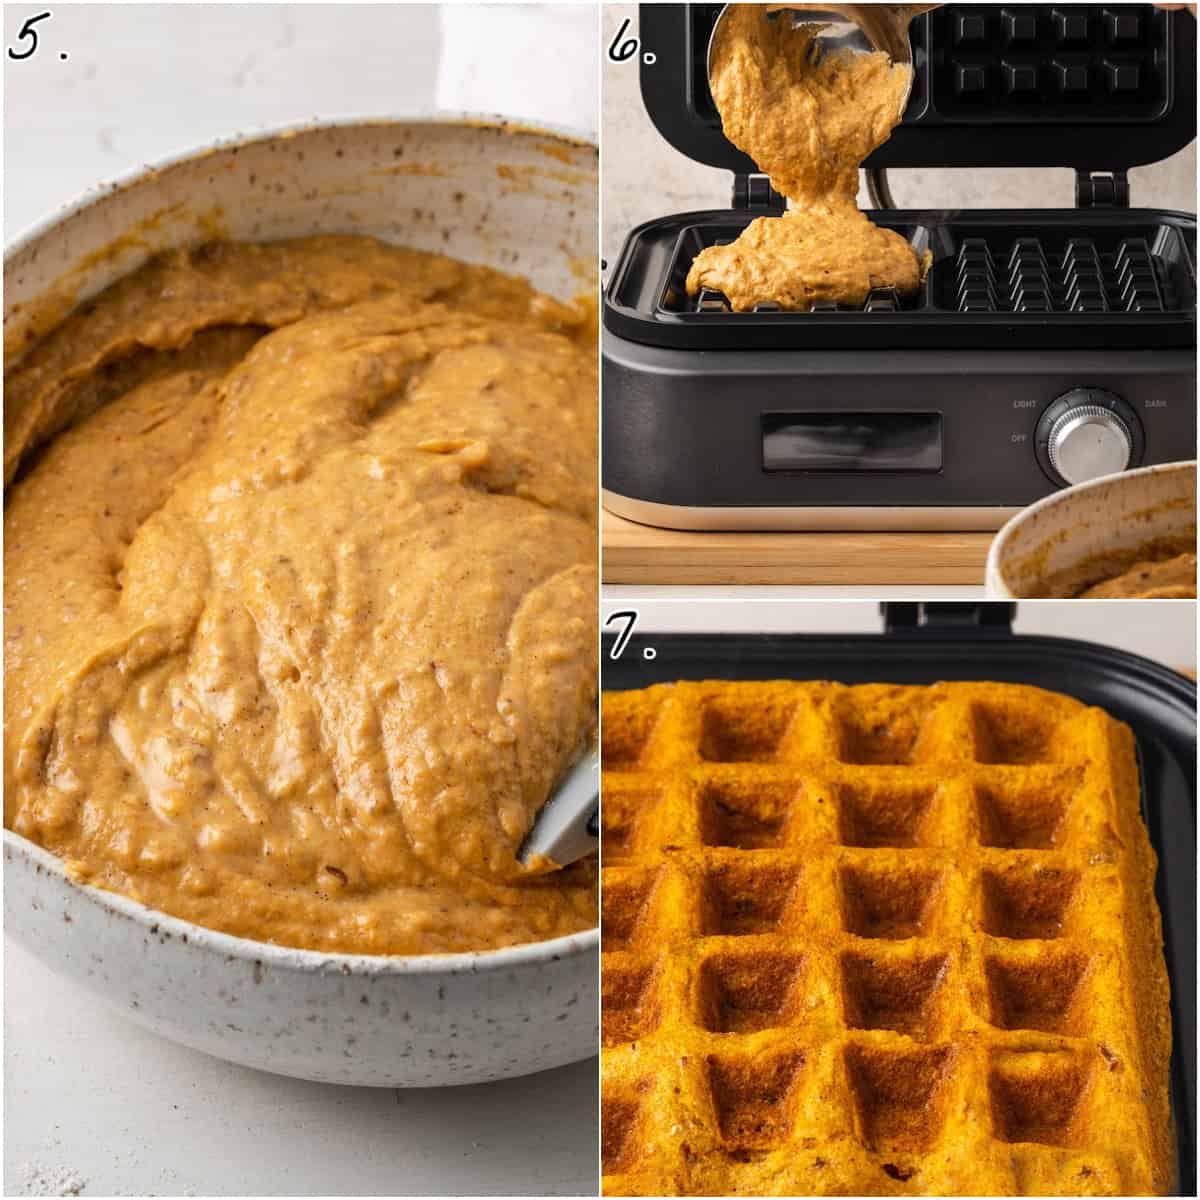
- Don’t overmix. The batter will be thick and small lumps are fine.
Preheat the waffle iron according to the manufacturer’s instructions. - Spoon the amount of batter recommended by the manufacturer onto the hot waffle iron.
- Cook according to the manufacturer’s instructions until the waffle is golden brown. Let the steam dissipate completely before opening the waffle maker.
Tips for success
Here are some expert tips and tricks to ensure your pumpkin waffles turn out perfectly every time:
- Preheat Your Waffle Iron: This is crucial for achieving those golden, crispy waffles. Make sure your iron is nice and hot before pouring in the batter.
- Don't Overmix: When combining wet and dry ingredients, mix only until they are just incorporated. Overmixing can lead to tough waffles.
- Use Even Portions: It's best to use the amount of batter that your waffle maker recommends so everything cooks as expected. It's usually ⅓ cup of batter per waffle. You can use a measuring cup, ladle, or 2-ounce cookie scoop to transfer the batter onto the hot plates.
- Be Patient: When cooking the waffles, resist the urge to peek too soon. Allow them to cook undisturbed until the steam subsides and they're beautifully golden brown.
- Customize Toppings: While maple syrup is a classic topping, get creative with your choices. Fresh fruit, non-dairy whipped cream, a dollop of coconut yogurt, or a sprinkle of chopped nuts can take your waffles to the next level.
Storing and Reheating
Refrigerator - Your pumpkin waffles will remain fresh for 3-4 days when stored in an airtight container or zip-top bag.
Freezer - They freeze beautifully for 2-3 months. Let them cool completely, then place them in a zip-top bag with wax paper between each one. Gently remove excess air before sealing.
Reheating - The easiest and most effective way to reheat them is by toasting them for a few minutes. This will restore their perfect crispiness, making them just as delightful as when they were freshly made.
More pumpkin recipes to try
Did you make this recipe? Let me know what you think by leaving a star ⭐️⭐️⭐️⭐️⭐️ rating and sharing your feedback in the comment section below. It would make my day!
⭐️ Subscribe to the Vegan Huggs Newsletter and receive weekly recipes straight to your inbox! You'll also receive my FREE eCookbook featuring my top 10 recipes.
Recipe
Vegan Pumpkin Waffles
Ingredients
- 1 ½ cups (360ml) soy milk or any non-dairy milk
- 1 tablespoon apple cider vinegar
- 2 cups (248g) all-purpose flour (or gluten-free 1.1)
- ¼ cup (50g) cane sugar
- 2 ½ teaspoons pumpkin pie spice
- 1 ½ teaspoons baking powder
- ¼ teaspoon baking soda
- ¾ teaspoon sea salt
- 1 cup (235g) pumpkin puree
- ¼ cup (60ml) neutral-flavored oil (avocado, sunflower, grapeseed, etc.)
- 2 teaspoons vanilla extract
Recommended Equipment
- Waffle Maker
- Cooling Rack (optional)
Instructions
- Make Buttermilk: In a large bowl, whisk the apple cider vinegar and milk until well combined. Set aside for 5 minutes to slightly thicken and curdle.
- Combine Dry Ingredients: In a medium bowl, whisk the flour, pumpkin pie spice, baking powder, baking soda, salt, and, sugar in a small bowl until well combined.
- Combine Wet Ingredients: To the large bowl with the buttermilk, add the pumpkin puree, oil, and vanilla then whisk well until combined.
- Combine Wet and Dry: Add half of the dry ingredients and fold together with a spatula. Add the remaining dry ingredients and fold until just combined. Don’t overmix. The batter will be thick and small lumps are fine.
- Preheat the waffle iron according to the manufacturer’s instructions. If your waffle iron is not non-stick, lightly spray it with nonstick cooking spray otherwise leave it bare. (*Optional: To keep waffles warm after cooking, preheat the oven to 200°F)
- Cook Waffles: Spoon the amount of batter recommended by the manufacturer onto the hot waffle iron (typically, ⅓ cup per waffle. I used a heaped amount of batter in a 2-ounce ice cream scoop which is about ⅓ cup). Cook according to the manufacturer’s instructions until the waffle is golden brown. Let the steam dissipate completely before opening the waffle maker.
- Serve: Serve immediately or set them on a cooling rack to allow air to circulate or place them in the preheated oven. Do not stack or overlap them. Top with fresh fruit, vegan butter, maple syrup, coconut whipped cream, nuts, or pumpkin seeds.
Notes
- Measuring Ingredients: It's best to use a scale to weigh your ingredients. If you don't have one, measure everything as accurately as possible using measuring cups and spoons. To measure flour without a scale, use this spoon and level method: Aerate the flour first by fluffing it up with a fork, then use a spoon to scoop the flour out of the container and into the measuring cup until it's a heaped amount. Do not pack or tap the cup. Once filled, use a butter knife to carefully level off the top and remove any excess flour.
- Waffle Maker - Each make and model is different with various cook times and amounts of batter to use. It's best to check the manual before beginning.
- Servings: 6-8 waffles (depending on waffle maker).
- Storage: Wrap leftover waffles in wax paper and store them in an airtight container or ziptop bag in the refrigerator for 3-4 days or freezer for 2-3 months. Reheat in the toaster.
- Variations: Fold in a 1⁄2 cup of chopped nuts or chocolate chips to the batter right after combining the wet and dry ingredients.
- See the post above for extra tips, FAQs, and step-by-step photos.




Bree
Could I use rice flour instead of all purpose flour?
Melissa Huggins
Hi Bree, I haven't tried it with rice flour, but they will work with a GF 1.1 all-purpose flour. Do you have that?