This post contains affiliate links. Read my disclosure policy here.
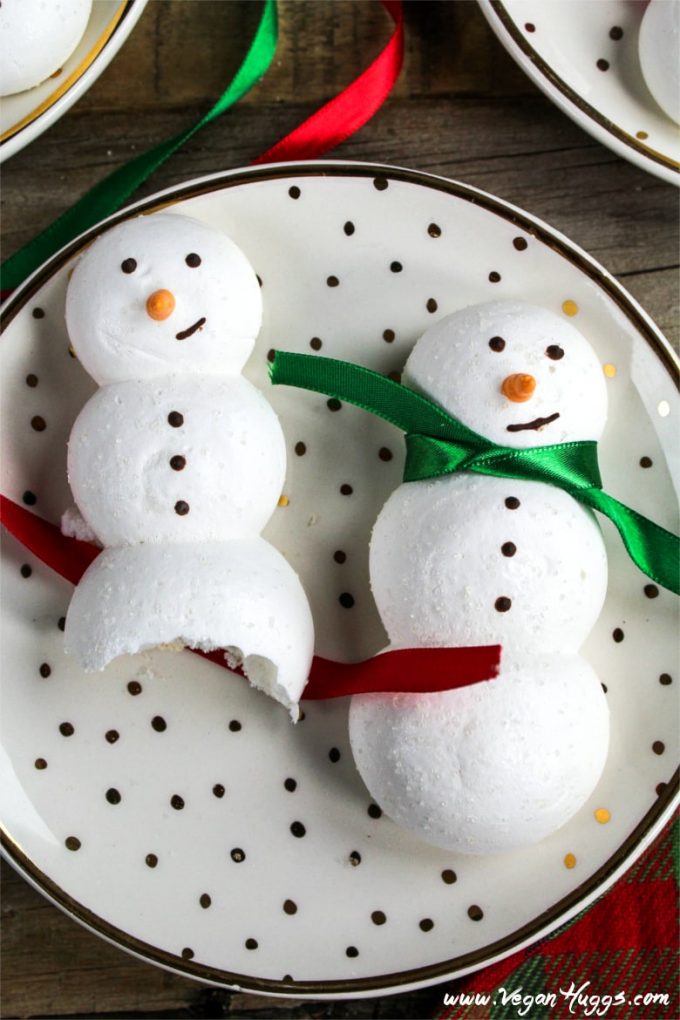
These snowman-shaped Vegan Meringue Cookies will be a hit at your next wintertime gathering. They are sweet, crisp, airy, and completely adorable!
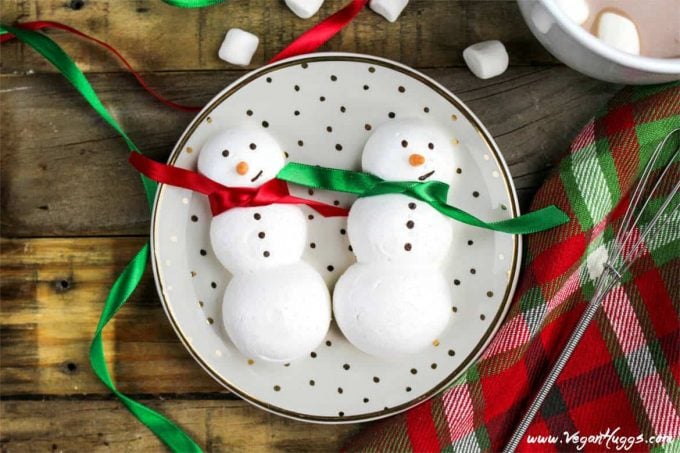
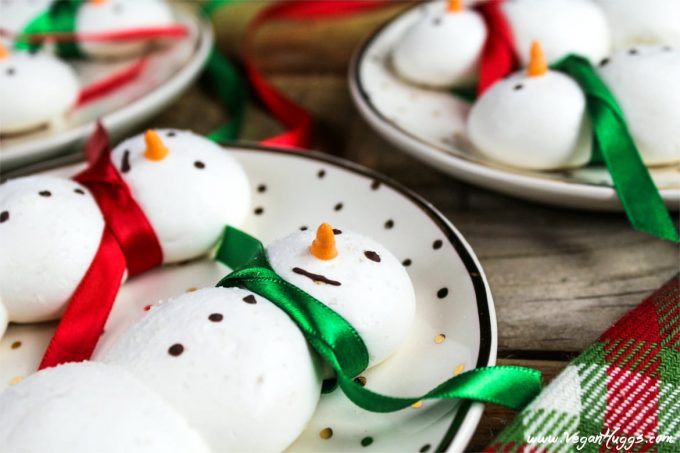
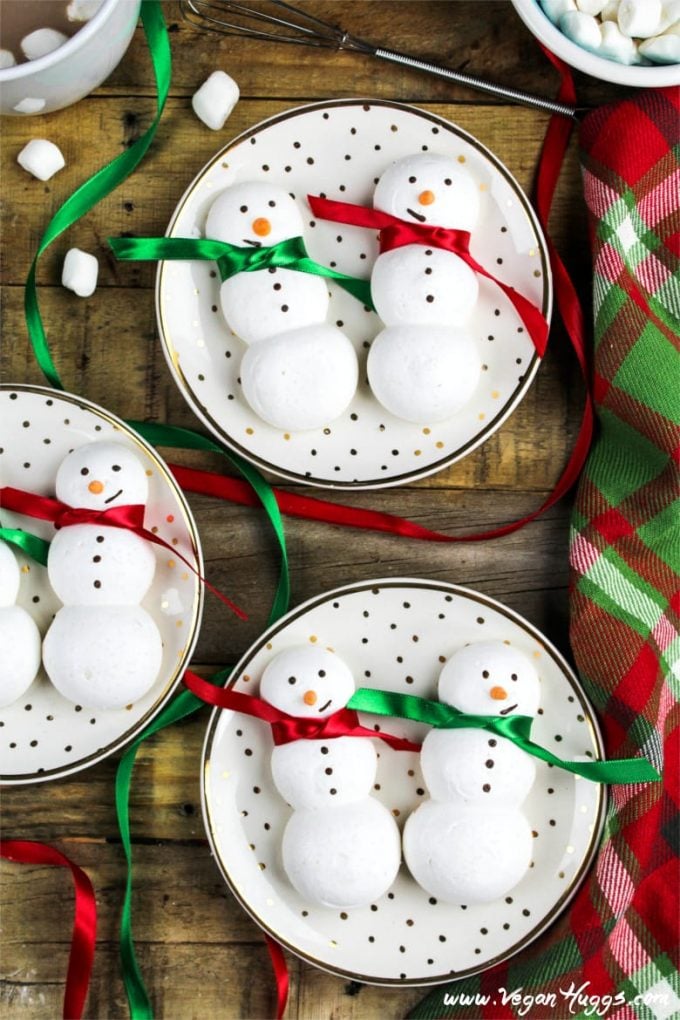
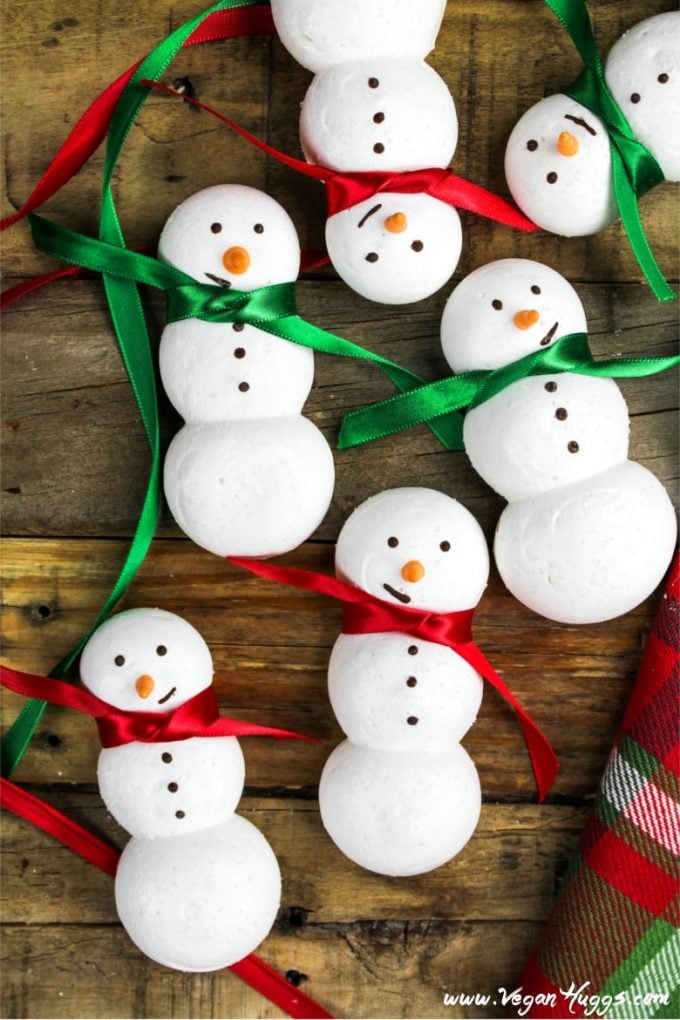
It's time to start off the Christmas craziness with these festive Vegan Meringue Cookies. Yep, they are shaped into snowmen with cute little carrot noses. Who can resist?
I first saw these Snowmen on Taste of Home and I just had to veganize them! These little snowy guys are pillowy, soft, crispy, and sweet all-in-one cookies.
There's just something dreamy about biting into a puffy cloud of sugary goodness, and this time of year is the perfect time to do it. If you leave these cookies out for Santa with this Chocolate Hazelnut Milk, you might get an extra present or two.
If you celebrate Hanukkah, just swap out the red and green ribbon for blue, white, or silver. Snowmen cookies can brighten up any holiday with their chocolate smiles and frosty face.

What's in Vegan Meringue?
Well, there's a new sheriff in town and it's chickpea water. Yep, you've read that right...it's bean water! In the vegan world, we know it as aquafaba. It sounds fancy and all, but it’s just that water we’ve dumped down the drain for years! If we only knew!
This magical bean water works exactly like egg whites do when whipped up. It gets fluffy, white, pillowy, and glossy. It's seriously what dreams are made up of! You won't taste bean flavor either because the sugar will take care of that and make everything beautifully sweet.
Believe it or not, this vegan fluff will cook up the same, too. Your Vegan Meringue Cookies will be crispy on the outside and slightly chewy on the inside. You'll be biting into a cloud of heaven!

How to make Vegan Meringue Cookies
Along with the aquafaba, you’ll need vanilla extract, sugar, and cream of tartar. Now the cream of tartar isn’t 100% necessary, it just helps the meringue hold its shape better. You can find it in the spice aisle at your local grocer.
One essential item you'll need is a stand mixer or a hand-held electric mixer. That bean water doesn't stand a chance with the whipping power of one of these. I wouldn’t attempt it by hand, because you might not be able to move your arm afterward, and that might hurt your cookie-eating skills.
You'll also need 2 decorating bags (or regular Ziploc bags) to pipe the snowmen's bodies. Cut a little hole in the bottom and fit them with a Wilton #3 and #12 (or something similar).
For the little carrot noses, you'll need 1-2 drops of food coloring. Just reserve ⅓ cup of the meringue and mix in the color. Don't overdo it because the meringue could become runny.
To create the eyes, mouth, and buttons, I melted vegan chocolate chips and painted them on with a fine-tipped paintbrush. I'm sure a toothpick can be used too.
You can totally get creative with the snowmen scarves. I used ribbon, but vegan rope candy or sour candy strips can be used, too.

Some other ideas to try
1- Dip the back in chocolate and sprinkle crushed candy cane on top.
2- Sprinkle a bit of granulated sugar on the wet meringues to give a sparkly effect (you can buy sparkly sugar too).
3- Make these into cookie pops. Just pipe the meringue on a lollipop stick and bake the same way. When cooled, dip the back in chocolate and add crushed candy cane, if preferred.
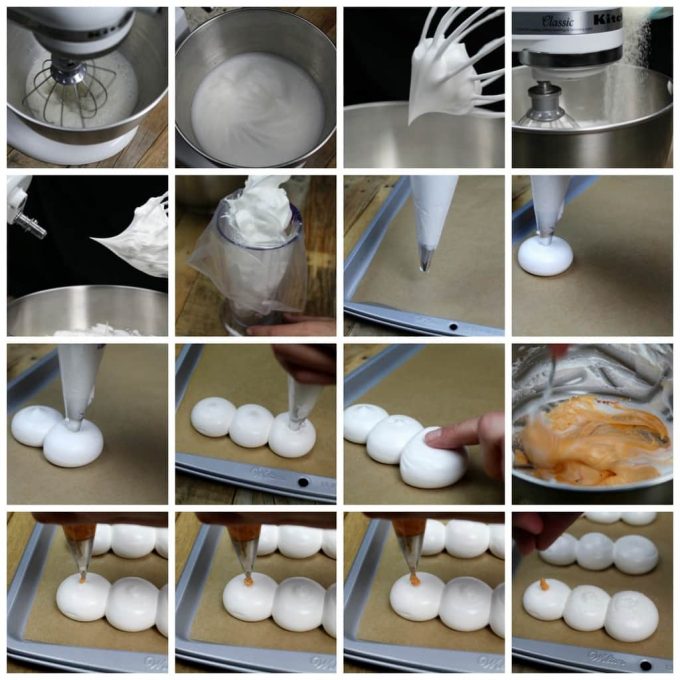
*Step-by-step photos starting left to right.
I’d love to hear from you
If you make this recipe, I’d love to hear what you think in the comment section below. It would really make my day. You can also follow me on Instagram and share your creation with me. Just tag me @veganhuggs and hashtag #veganhuggs so I don’t miss it.
📖 Recipe
Vegan Snowmen Meringue Cookies
Ingredients
- Liquid from a 15 oz can of chickpeas (unsalted)
- ¾ teaspoon vanilla extract
- ½ teaspoon Cream of tartar *See note
- ¾ cup fine sugar
- ⅓ cup vegan chocolate chips
- Orange food coloring
Items needed:
- 2 decorating bags or ziploc bags.
- Small round decorating tip for snowmen noses (I used Wilton #3 tip)
- Medium round decorating tip for snowmen bodies (I used Wilton #12 tip)
- Ribbon for snowmen scarves (vegan rope candy can be used too)
- 1 fine tipped paint brush for chocolate eyes , mouth & buttons.
Instructions
- Using a hand mixer or stand mixer, add chickpea brine, vanilla & cream of tartar to the bowl. Start speed on low to gently incorporate. Gradually increase speed over the next few minutes, until you end up at med-high (not full speed). The mixture will start to get foamy, then it will start to thicken up and turn white and form soft peaks. Once it starts to form stiff peaks, slowly add the sugar a few tablespoons at a time. Continue whipping until sugar is incorporated and the stiff peaks are glossy and hold their shape. The process can take 10-12 mins. *See note for meringue tips
- Preheat oven to 200 degrees F (*see note)
- Line a large baking sheet with parchment paper (use dots of meringue underneath in the corners to keep paper down)
- Cut tip off decorating bag (or ziploc) and fit with decorating tip (for both bags). Using a spoon, transfer the white meringue to a pastry bag fitted with the #12 tip (you might need to fill it twice). Leave about ⅓ cup meringue for orange noses. Gently twist the top to close and keep shut with a clip, band or use hand to keep closed while piping.
- Start piping the snowman head on a parchment-lined baking sheet. Squeeze from the top and create a quarter-size head shape. Don't touch tip to paper, hover it over it a little bit about ¼ inch. Stop squeezing before lifting up to avoid a long peak from forming. Continue to the mid-body, making the circle a bit larger than the head, and so on for the bottom half of the body. The three circles should be connected. Continue until white meringue is used up. Leave about 2 inches in between each cookie. If little peaks form, slightly dampen your finger and lightly press them down. The cookies will smooth out more as they cook.
- Put 1-2 drops of food coloring into the remaining white meringue and combine. Be careful not to use too much or it could make the meringue runny. Fill your pastry bag and begin piping the noses. I made a tiny circular motion as I worked up.
- Place in oven for 1 ½ - 2 hours (*see note). The cookies should be light and crisp and not browned. To check for doneness, test to see if a cookie will easily lift off parchment paper. The bottoms should be dry and not sticky. Turn off heat and let cookies completely cool in oven before removing to avoid cracking.
- When cookies are completely cooled, melt your chocolate chips over low heat and stir constantly to prevent burning or microwave for 30-60 seconds. Using a small-tipped paintbrush or toothpick, dot on eyes, buttons and make little smiles. Have fun with it!
- For the snowmen scarves, cut and tie ribbon around the neck or use vegan rope candy.
Video
Notes
- 1. Make sure the mixing bowl & attachments are very clean with no oil residue. Clean with vinegar, if needed.
- 2. To check for stiff peaks, remove whisk & dip into meringue and hold whisk straight up. If the peaks fall over, continue to whip until they are firm and don't fall over.
- 3. Cream of tartar isn't completely necessary to use, but it does help the meringue hold its shape a little better & longer.
- 4. I use a balloon whip attachment, but a whisk attachment can be used too.
Nutrition
Looking for a recipe for your holiday morning? You might be interested in these Apple Cinnamon Baked Oatmeal Muffins. They are easy, delicious and will feed a whole herd of house guests.






Angela
They came out adorable! Took a few practice cookies but I nailed it afterwards. I can’t wait to make these for Christmas!
Melissa Huggins
Wow, getting in early Angela! I agree they are super cute and I am sure everyone will love them.
Alaina
These are adorable!! I could hardly believe it's already December but I'm really excited to make many Christmas recipes. I'll be making your thumbprint cookies today :D. Can I use regular cane sugar (imperial) instead of fine sugar? I made aquafaba meringues once before and the texture was spot on but they had a bean-y taste, probably because I didn't use unsalted chickpeas. I'm excited to try this!