This post contains affiliate links. Read my disclosure policy here.
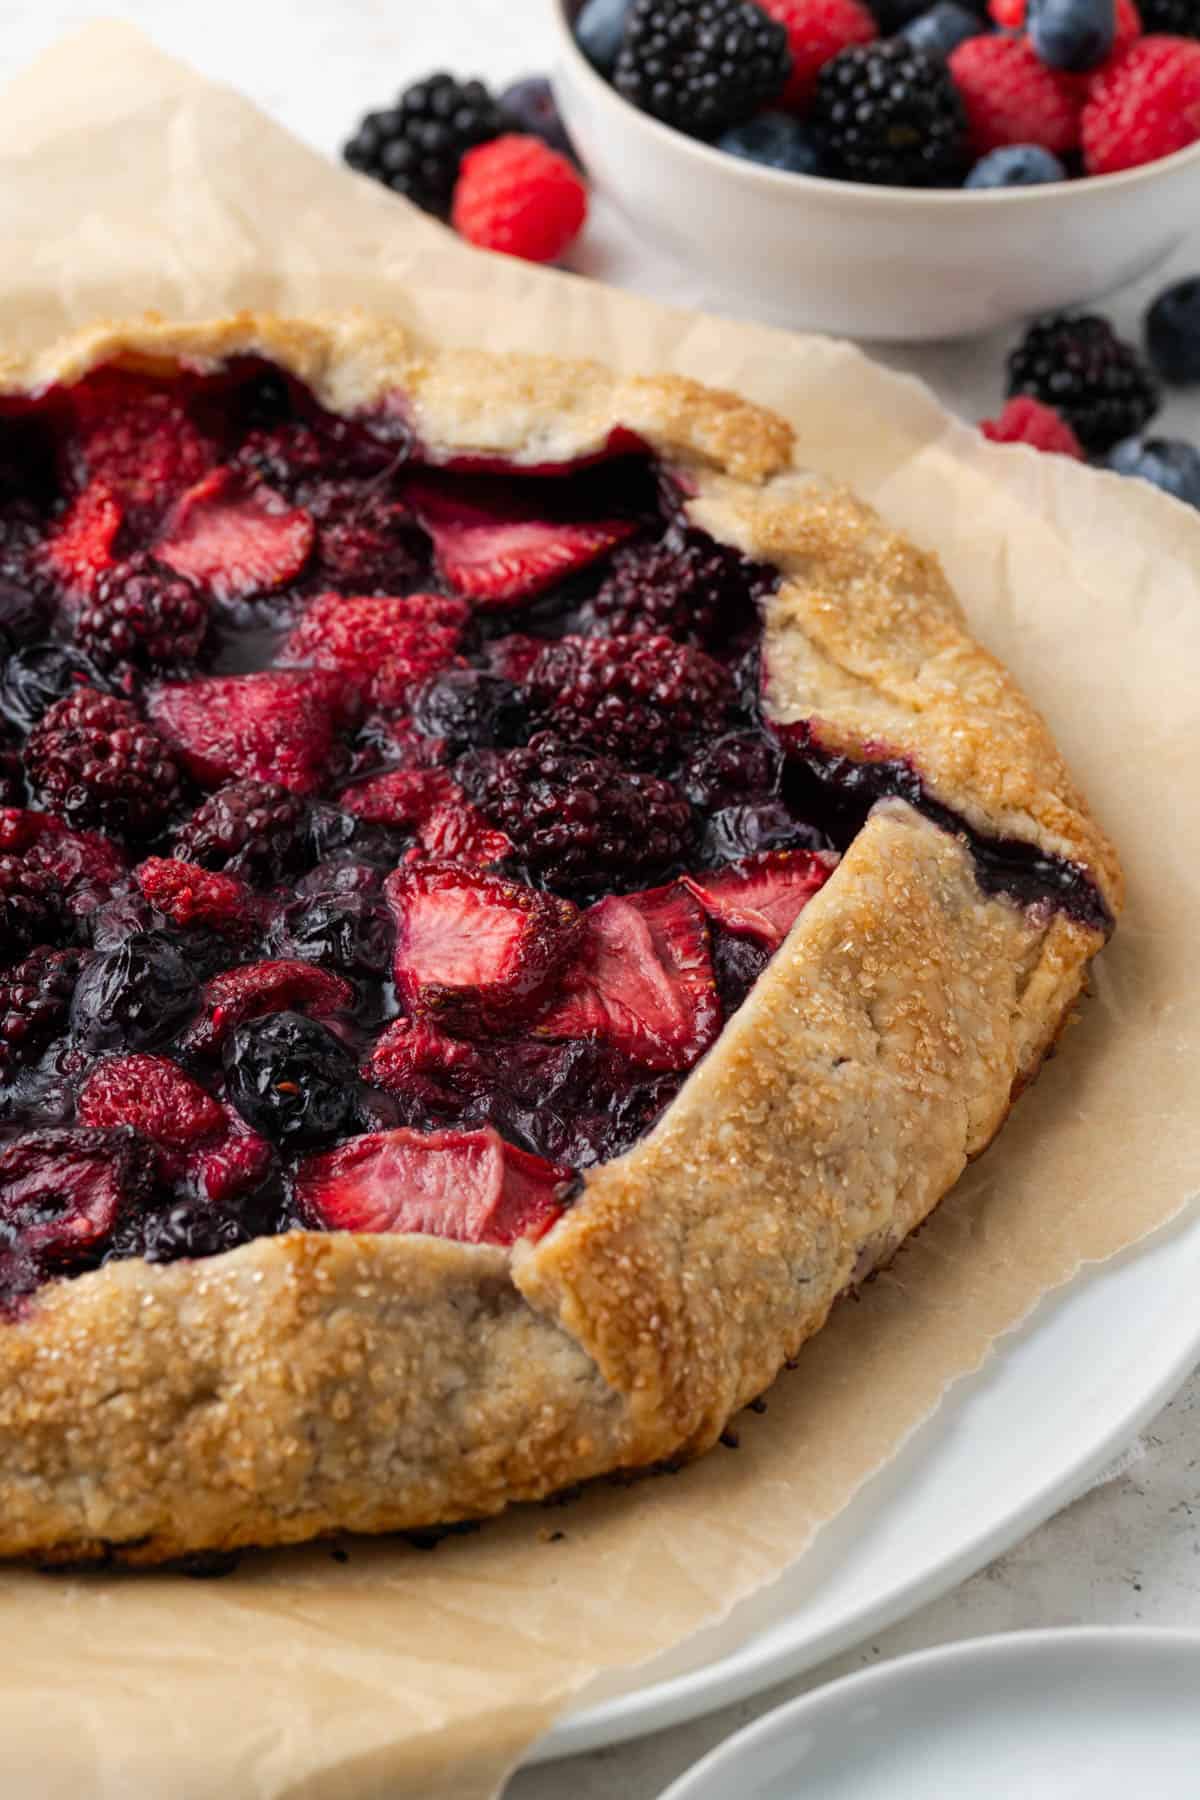
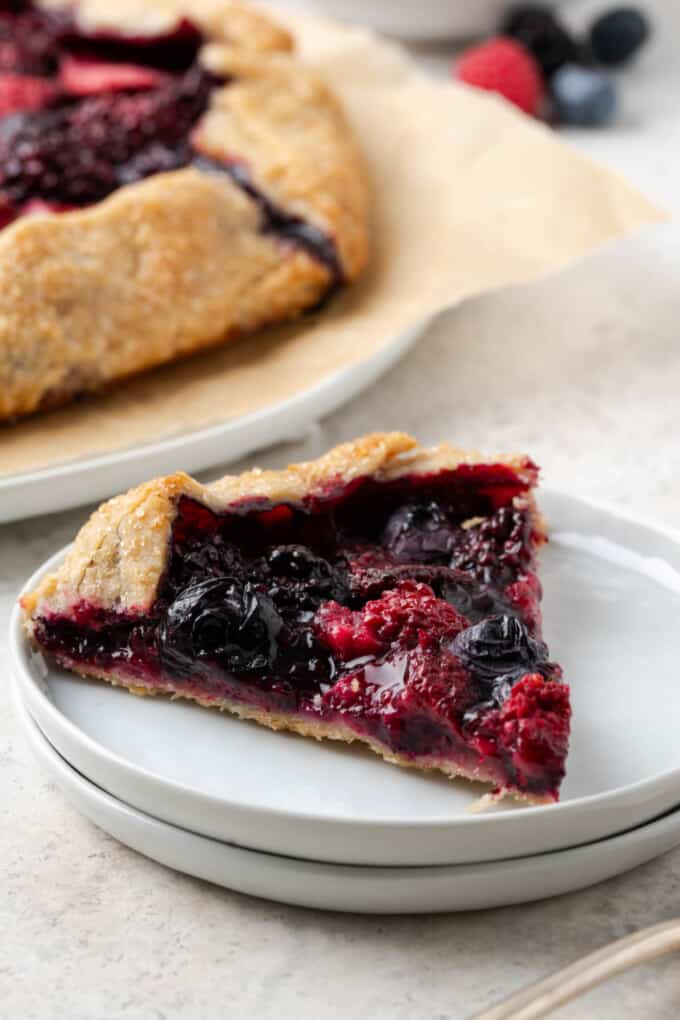
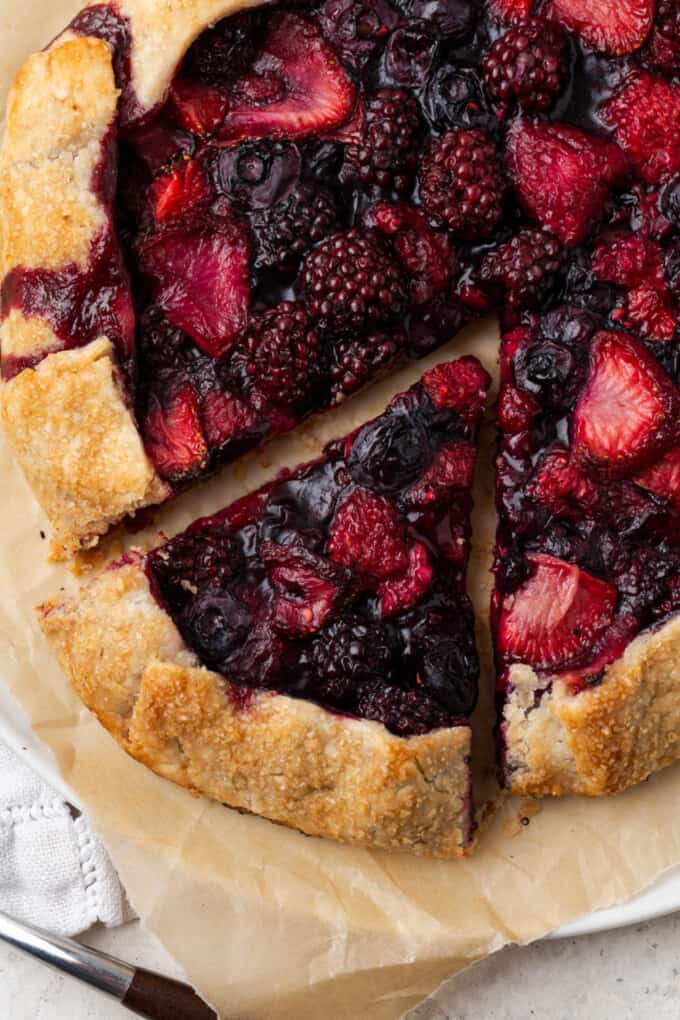
Treat your taste buds to this delightful homemade Berry Galette that's bursting with the natural sweetness of fresh berries, all wrapped up in a flaky, golden-brown crust. It's a simple yet scrumptious dessert that'll make your day a little sweeter!
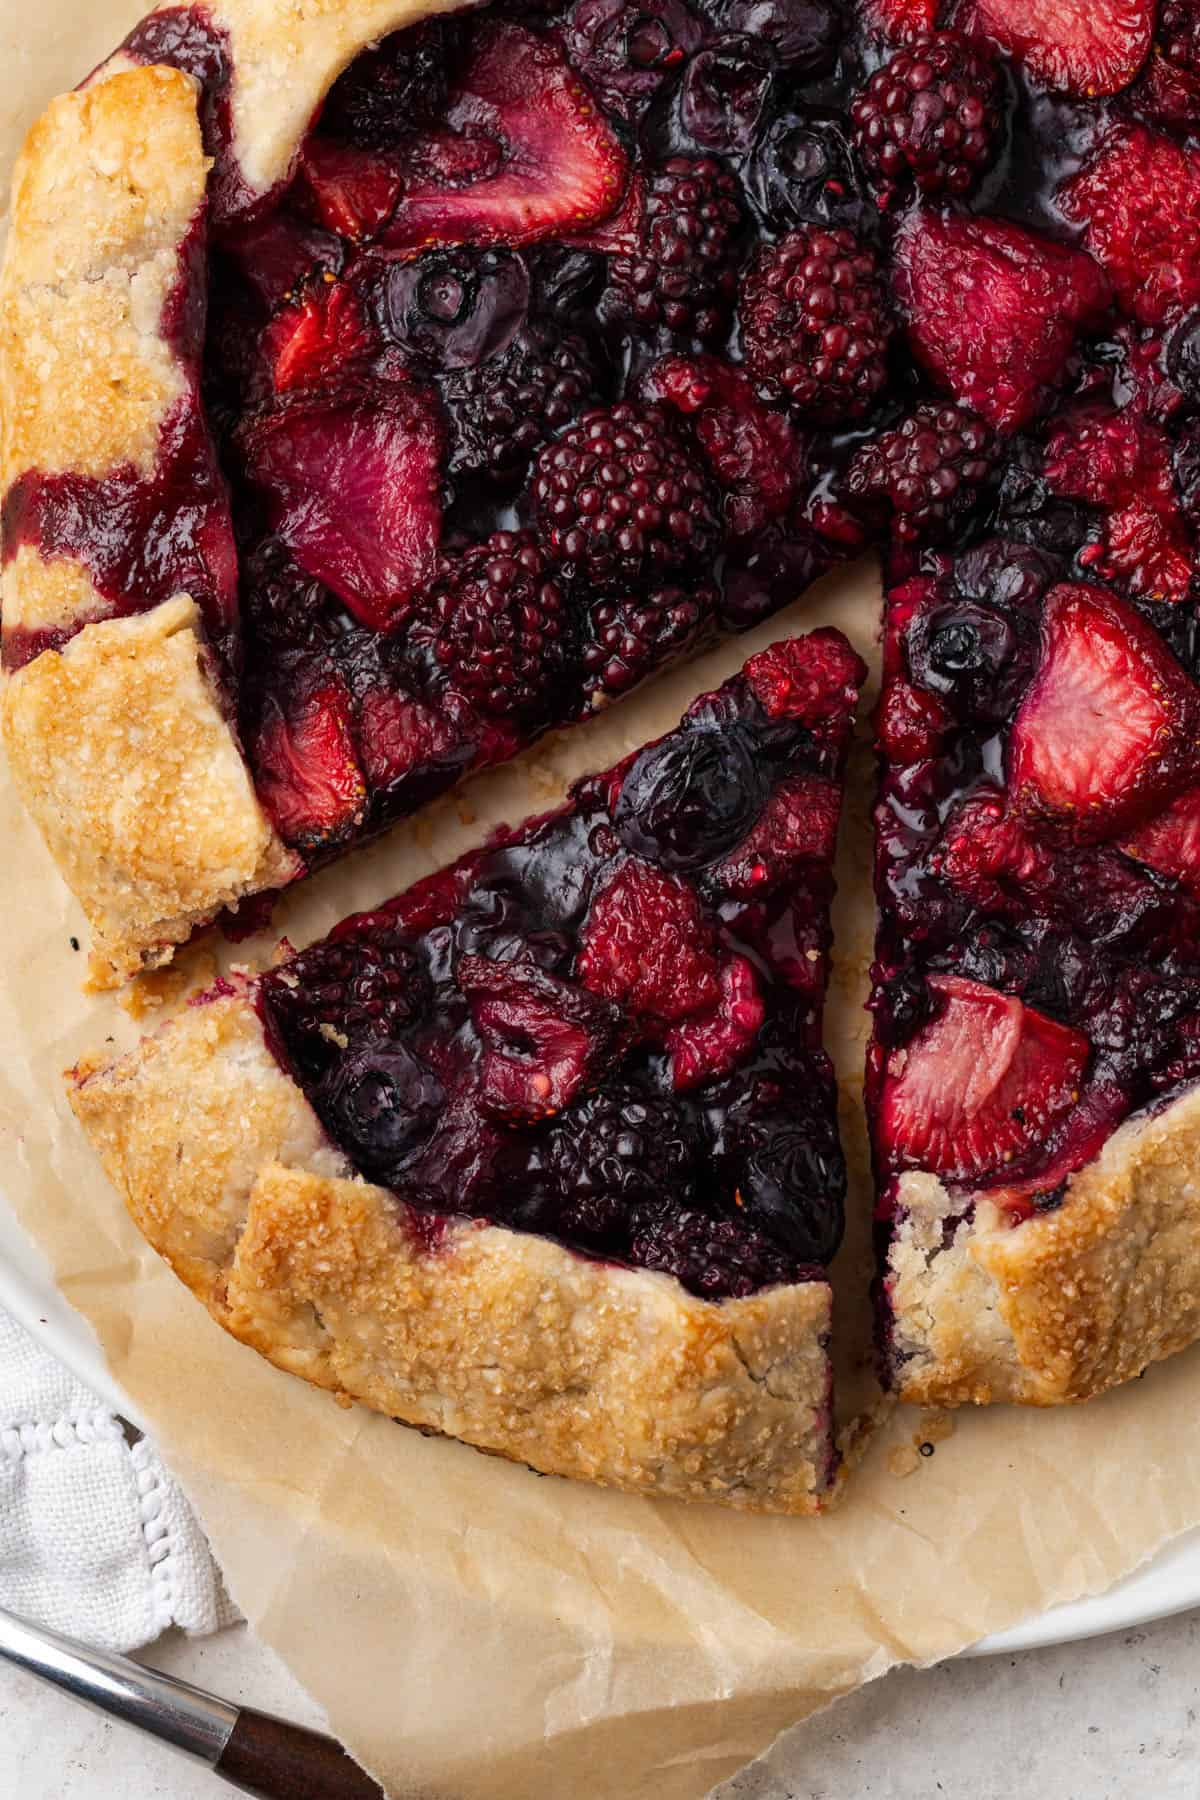
When I'm in the mood for something sweet that's both easy and irresistibly delicious, this Berry Galette is one of my go-to treats. I mean, who wouldn't want to dive into a warm slice of berry heaven, even on a whim?
It's the perfect dessert for last-minute guests too because they freeze like a dream and you can bake them up in a flash! It's a game-changer!
Plus, they're budget-friendly. Simple ingredients, minimal effort, and a stunning result that never fails to impress. And let's talk about the process – it's as simple as tossing the berries with a few pantry staples, rolling out the dough, and letting the oven work its magic.
Ingredients Needed
You can pull this galette recipe together easily with these simple ingredients:
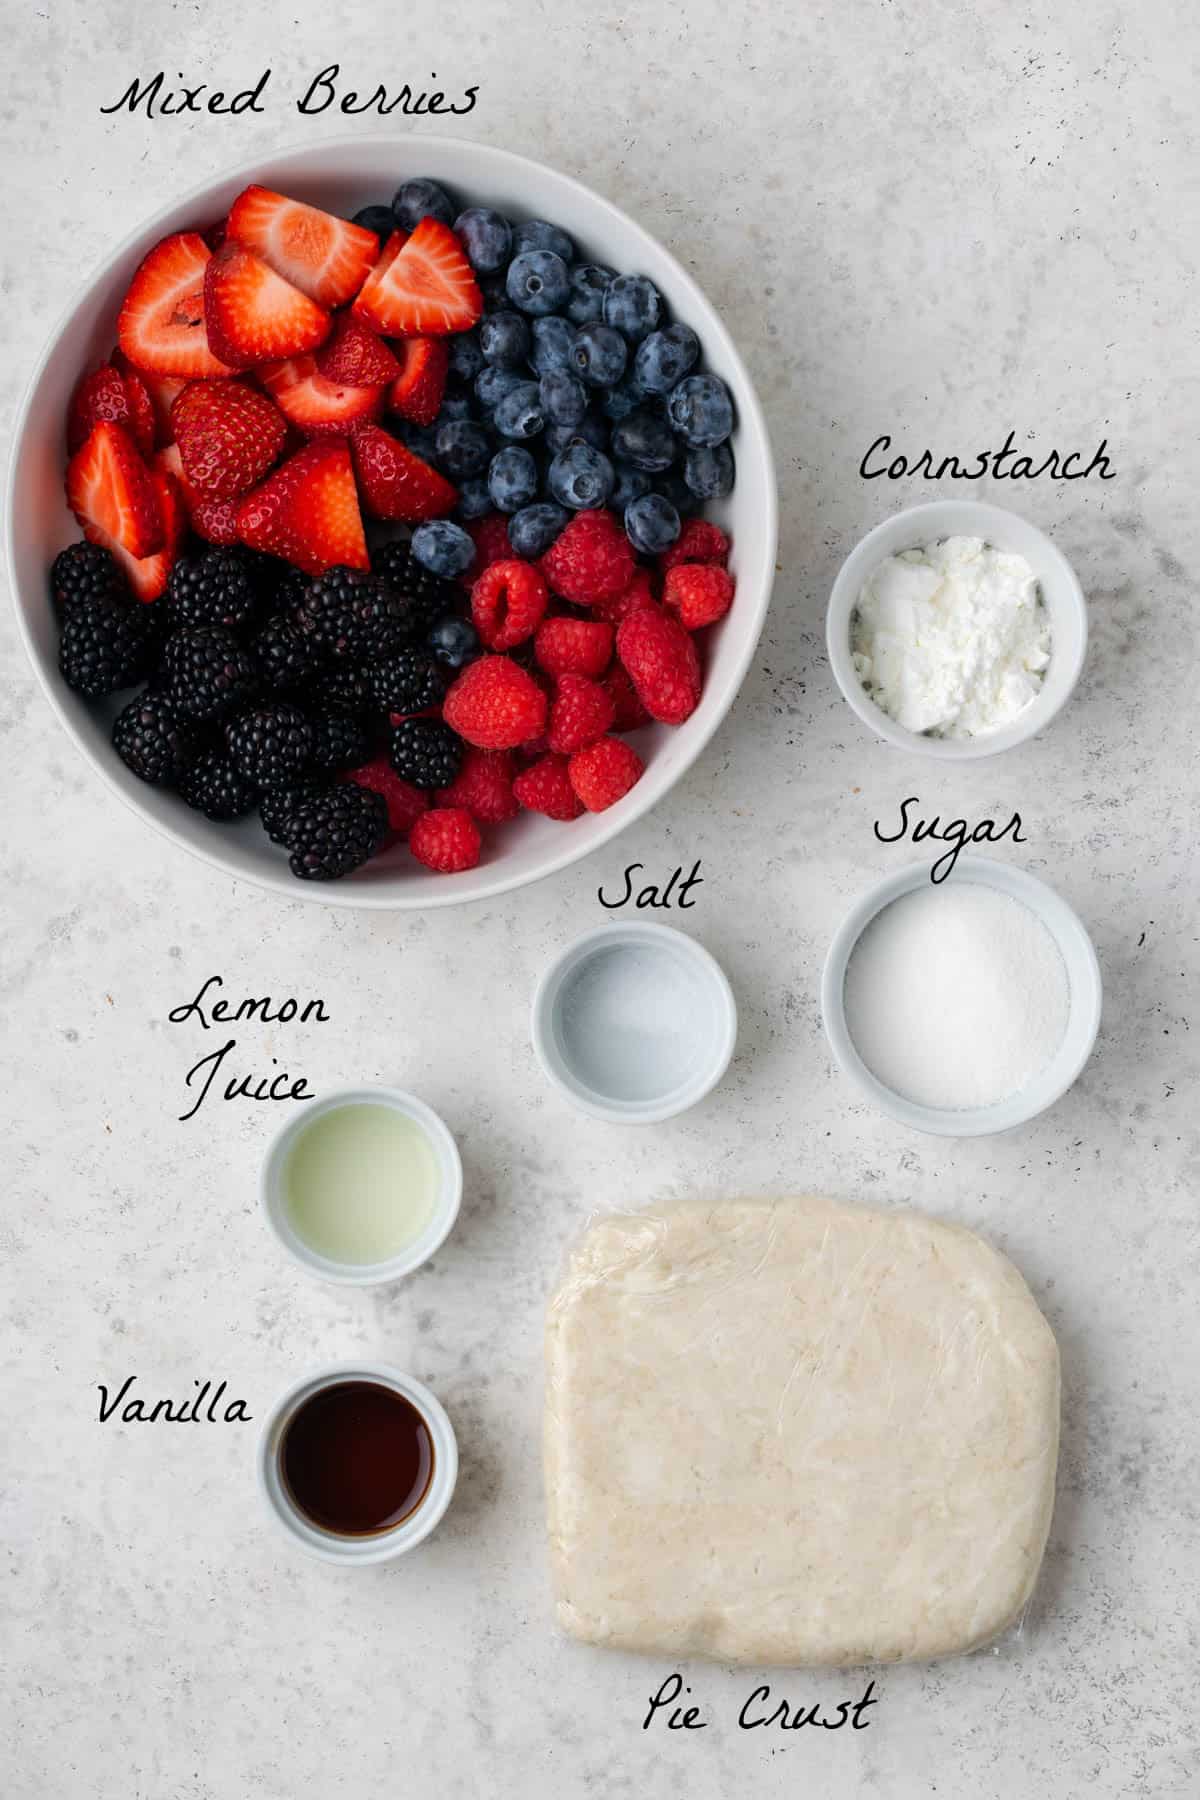
- Mixed Berries - I used a mix of fresh strawberries, blueberries, and blackberries, but any combination or variety will work here.
- Sugar - I used regular cane sugar, but brown sugar will work too.
- Cornstarch - This will help thicken the fruit juices into a jammy consistency. You can also use arrowroot flour.
- Vanilla Extract - This is optional but it really complements the sweet berry flavors.
- Lemon Juice - This brightens up the berry flavors beautifully. You can also use a teaspoon of lemon zest for extra zing.
- Pie Crust Dough - Feel free to use my homemade vegan pie crust or a store-bought variety.
- Vegan Egg Wash - This helps create a golden crust. I make it with a combination of non-dairy milk and maple syrup or agave.
- Turbinado sugar - This adds a touch of sweetness and a caramelized crunch to the top of the crust. It's completely optional though.
How to make a Berry Galette
The steps to make this galette are a breeze! It's even easier if you have the dough already made or if you're using store-bought. Then you can just assemble, chill for a short while, and bake. Here's how to do it:
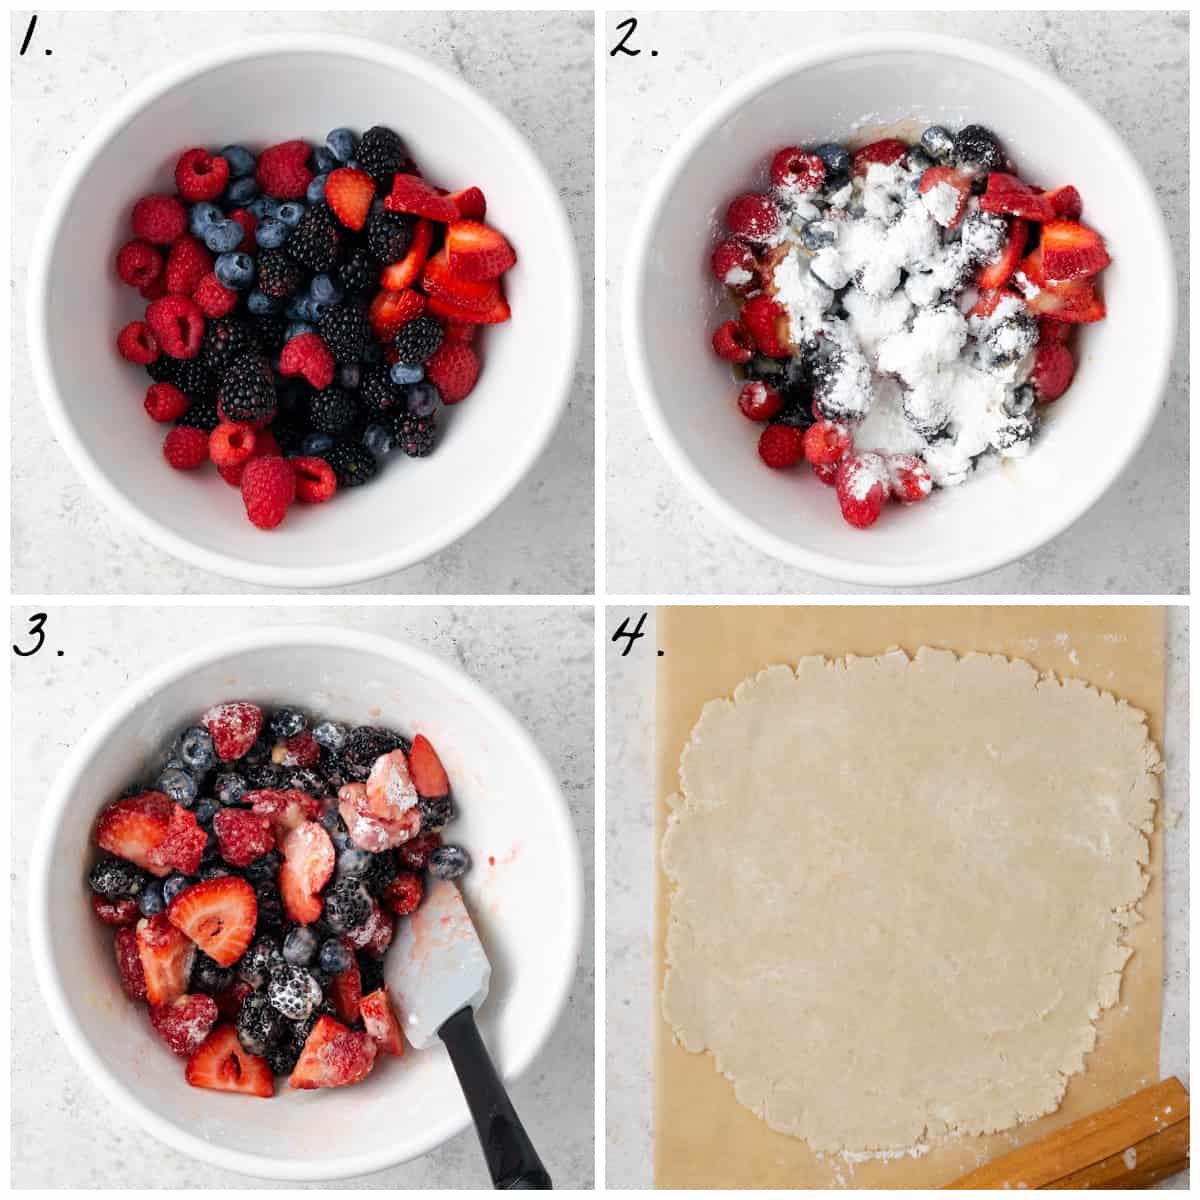
- Place the mixed berries into a large bowl.
- Add the sugar, cornstarch, vanilla, lemon juice, and salt.
- Stir together to coat the berries and set aside.
- Remove the dough from the refrigerator and roll it out about ¼-inch thick on a piece of parchment paper that is cut to fit your baking sheet.
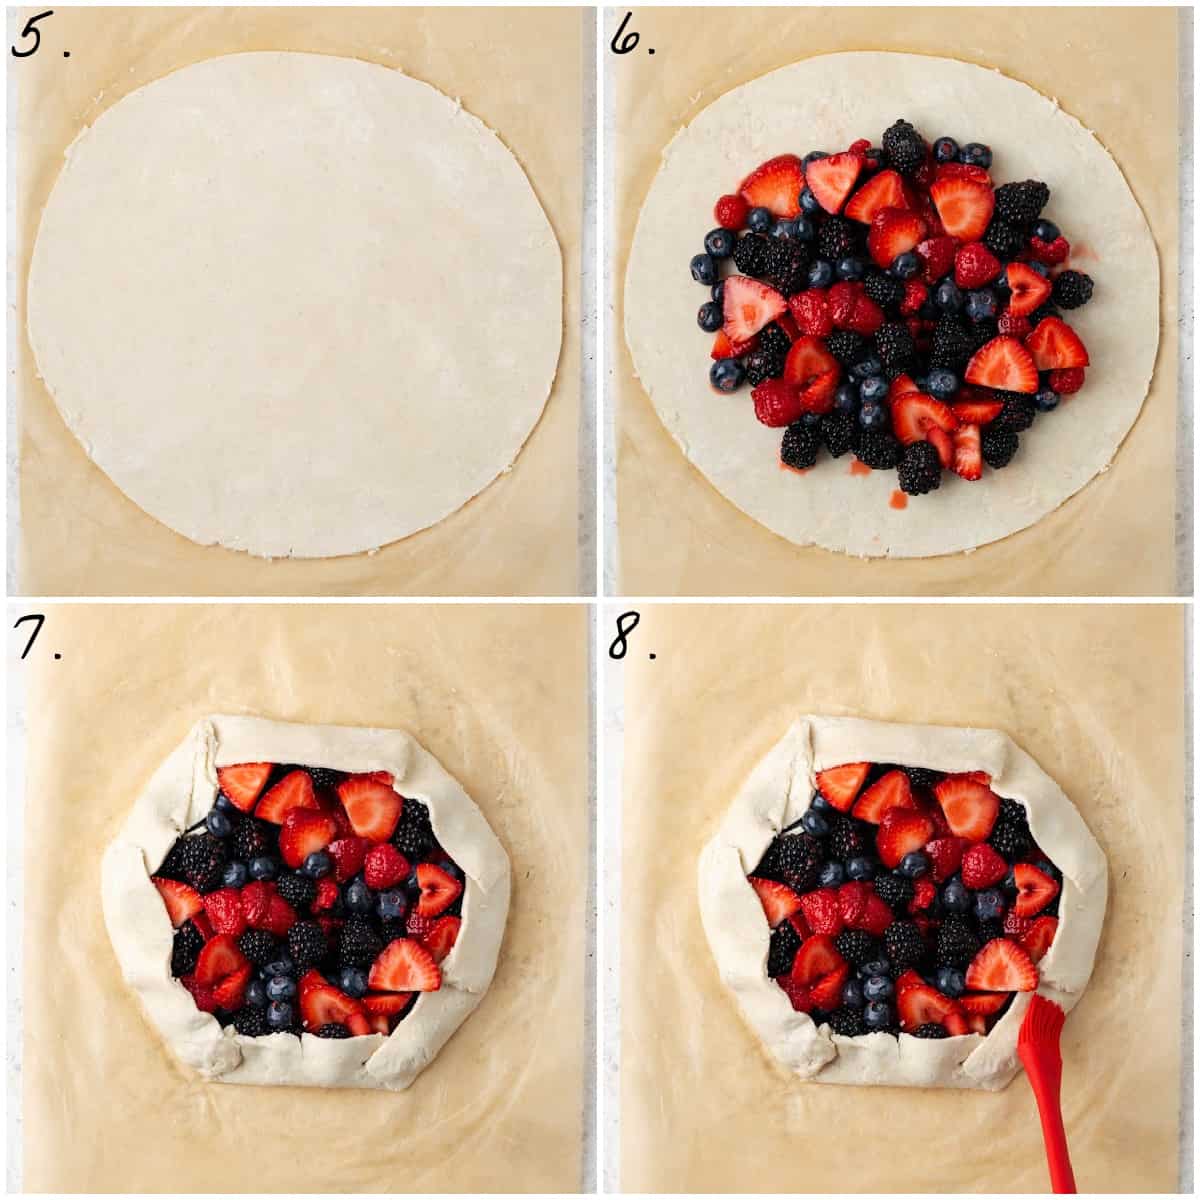
- Trim the edges to make a large circle or square. Slide the parchment paper onto a baking sheet.
- Use a slotted spoon to place the fruit onto the pie dough. Leave a border about 1 1⁄2” wide at the edge.
- Fold the edges of the pie dough in, making a crease every few inches. Slide the parchment paper with the galette onto your baking sheet and place it in your freezer for 15 minutes.
- Remove the baking sheet from the freezer brush the outer edge of the pie crust with vegan egg wash, and sprinkle with turbinado sugar. Bake in the oven for 35-45 minutes until the crust is golden and the fruit filling is bubbling.
Galette Succes Tips
- If you're using store-bought dough, make sure to follow thawing instructions before beginning.
- The dough doesn't have to be shaped perfectly symmetrical circle or square. Galettes are meant to look rustic and it'll just add to its appeal.
- Remember to drain any excess liquid from the bottom of the fruit bowl to prevent a soggy dough.
- Make sure to freeze the assembled galette for 15-20 minutes before baking. This will help everything stay together.
Storing + Reheating
If your berry galette doesn't disappear the moment it's out of the oven (trust me, it's a challenge), here's how to ensure your galette remains a delectable treat for days to come.
- Refrigerator: Once cooled, wrap the leftover galette in aluminum foil or store it in an air-tight container and store it in the refrigerator for 3-4 days.
- Freezing: Place the cooled leftover slices on a baking sheet or freezer-safe plate and freeze for 1-2 hours. Then wrap individually in cling wrap and place into a freezer bag. This will make it super easy to reheat when you only want a slice or two. Freeze well for up to 2 months.
- Reheating: To reheat, bake on foil or a baking sheet at 350 F for about 10-15 minutes and allow to cool for 2-3 minutes for the crust to reset.
Make Ahead
You can make this Berry Galette ahead of time and store it in the freezer for up to 2 weeks. To do this, assemble the galette on a parchment-lined baking sheet that will fit into your freezer. Skip the vegan egg wash and sugar topping. Place it in your freezer for 1-2 hours or until frozen enough to wrap well in cling wrap.
To bake the from frozen, preheat your oven to 375°F (190°C) and place it on a parchment-lined baking sheet. Brush the vegan egg wash on the top of the crust and sprinkle on the coarse sugar.
Bake for approximately 50-60 minutes. Since it's frozen, it will require a longer baking time compared to a fresh galette. Keep an eye on it; it should be done when the crust is golden brown, and the filling is bubbling.
More Berry Recipes to try
Did you make this recipe? Let me know what you think by leaving a star ⭐️⭐️⭐️⭐️⭐️ rating and sharing your feedback in the comment section below. It would make my day!
⭐️ Subscribe to the Vegan Huggs Newsletter and receive weekly recipes straight to your inbox! You'll also receive my FREE eCookbook featuring my top 10 recipes.
Recipe
Berry Galette
Ingredients
- 1 homemade pie crust dough or store-bought (*see note)
- 3 cups (450g) mixed berries (I used sliced strawberries, blueberries, and blackberries)
- ¼ cup (50g) cane sugar
- 2 tablespoons (16g) cornstarch
- 1 ½ teaspoons vanilla extract
- 1 tablespoon lemon juice
- ¼ teaspoon sea salt
- All-purpose flour for coating rolling pin
- Vegan egg wash (2 tablespoons non-dairy milk combined with 1 tablespoon maple syrup or agave)
- Turbinado sugar for finishing
Recommended Equipment
- Large Mixing Bowl
- Rolling Pin (an empty wine bottle will work too)
- Parchment Paper
Instructions
- Combine the berries, sugar, cornstarch, vanilla, lemon juice, and salt in a large bowl. Stir together to coat the berries and set aside.
- Remove the dough from the refrigerator and place it on a piece of parchment paper that is cut to fit your baking sheet. Sprinkle some flour on top of the dough and roll it out with a floured rolling pin (about ¼-inch thick and 12" in diameter). Trim the edges to make a large circle or square. Slide the parchment paper onto a baking sheet.
- Use a slotted spoon to place the fruit onto the pie dough. Leave a border about 1 1⁄2” wide at the edge. Discard any liquid left in the fruit bowl.
- Fold the edges of the pie dough in, making a crease every few inches. Slide the parchment paper with the galette onto your baking sheet and place it in your freezer for 15 minutes.
- Preheat the oven to 425 °F (220 °C).
- Remove the baking sheet from the freezer and brush the outer edge of the pie crust with vegan egg wash, and sprinkle with turbinado sugar.
- Bake in the oven for 35-45 minutes until the crust is golden and the fruit filling is bubbling.
- Cool the galette on the baking sheet until it’s set to a jammy consistency. Serve with vegan whipped cream or non-dairy ice cream.
Notes
- Store-Bought Crust - For store-bought crust, follow the package's instructions to thaw before beginning.
- If you're using my homemade pie dough that's linked in the ingredients, follow the instructions through step 4 and disregard after that. Then continue as instructed in this recipe card.
- The cook/prep time doesn’t include making pie dough. That information is noted in that recipe card linked above. This will change if you're using a store-bought crust.
- Storing: Wrap the leftover galette in aluminum foil and store in the refrigerator for up to 3 days. To reheat, bake on foil at 350 F for about 10-15 minutes and allow to cool for 2-3 minutes for the crust to reset.
- Freezing: Place leftover galette slices on a baking sheet or freezer-safe plate and freeze for 1-2 hours. Then wrap individually in cling wrap and place into a freezer bag. This will make it super easy to reheat when you only want a slice or two.
- See the post above for step-by-step photos, substitute ideas, extra tips, and FAQs.




Jim
This looks so good. I'm making it for my wife tonight! Thank you.